
Hello, hello! Can you believe we're nearly at the end of May already?! Time is flying.

For the second suite showcase of the month, I'm featuring Countryside Inn. This is a fab suite that includes a stamp set, dies, designer series paper (DSP) and embossing folder. The embossing folder even lines up beautifully with one of the papers to allow you to emboss the printed design. I haven't quite managed to get all of the suite yet, so for today's offerings, I'm showing you how the DSP can be combined with another stamp set, this time it's Tow-Tone Flora (one of my favourites) with sentiments from Something Fancy.
For my first card, I kept things fairly simple. I selected a page of DSP with the trees on and cut to standard matting layer of 10.1cm x 14.5cm. I then cut this layer down so one part is larger than the other. I reversed the DSP so there is a contrast. I lined up the two pieces and adhered together on the back side using some tear and tape. To cover the join, I added some Night of Navy ribbon and adhered to the Night of Navy standard card base, measuring 14.85cm x 10.5cm.

From Something Fancy, I selected the sentiment and in Night of Navy, stamped it on Basic White. I die cut this using the second largest label die from the Something Fancy dies. This was adhered over the ribbon on dimensionals.

Using the Two-Tone Flora stamp sets, I stamped the detailed stamp for both the large flower and a smaller one in Misty Moonlight and completed the flowers by stamping the block stamp in Boho Blue. The leaves were stamped in Balmy Blue. I die cut them all out and adhered them to the card using a combination of liquid glue and dimensionals. To finish the card, I added some blue gems from the Adhesive-Backed Solid Gems.

For my second card, I created a book fold card. The card base measures 10.5cm x 29.7cm scored at 14.85cm and 18cm. I tied some Night of Navy ribbon between the two score lines and then glued that section down. This creates the book fold. I selected some DSP and layered on Basic White to fill the 'spine' and the remaining section of the front.

I stamped 3 of the large flowers in a combination of Misty Moonlight/Night of Navy, Misty Moonlight and Boho Blue. The leaves were also stamped in Boho Blue and Night of Navy. I die cut two circles using the Stylish Shapes Dies in Night of Navy and Basic White. I layered these up and then adhered the flowers on the circles.

For the sentiment, I die cut a banner shape also from Stylish Shapes Dies and white heat embossed (from Something Fancy stamp set). Before adhering the sentiment on top of the flowers, I added some white twine in a faux bow. To complete the card, I added some of the blue gems, the same as the previous card.

For my final card, I decide to throw the kitchen sink at it hehe. On a Night of Navy standard card base, I added a layer of Melon Mambo and then a layer of DSP, reducing each down by 4mm each time. I wrapped some Boho Blue textured ribbon in two directions, similar to wrapping a present. With the Deckled Rectangle dies, I die cut the fourth smallest from Melon Mambo cardstock. In Basic White, I die cut using the Dots & Spots die; from this die cut a piece using the third smallest die from the Deckled Rectangles and adhered using liquid glue to the Melon Mambo layer.

I stamped and die cut a combination of large, small and cluster flowers in Boho Blue/Misty Moonlight and Melon Mambo 1st & 2nd generation. The leaves were also stamped in Night of Navy, Boho Blue and Melon Mambo. For the sentiment, I white embossed on Night of Navy. I adhered the sentiment on dimensionals to the Melon Mambo and Basic White layer. Then, using liquid glue, I framed the sentiment with the flowers and leaves. I tucked a bow from white twine under the sentiment under one corner and finished the card with some of the pink embellishments from our Glossy Dots Assortment.

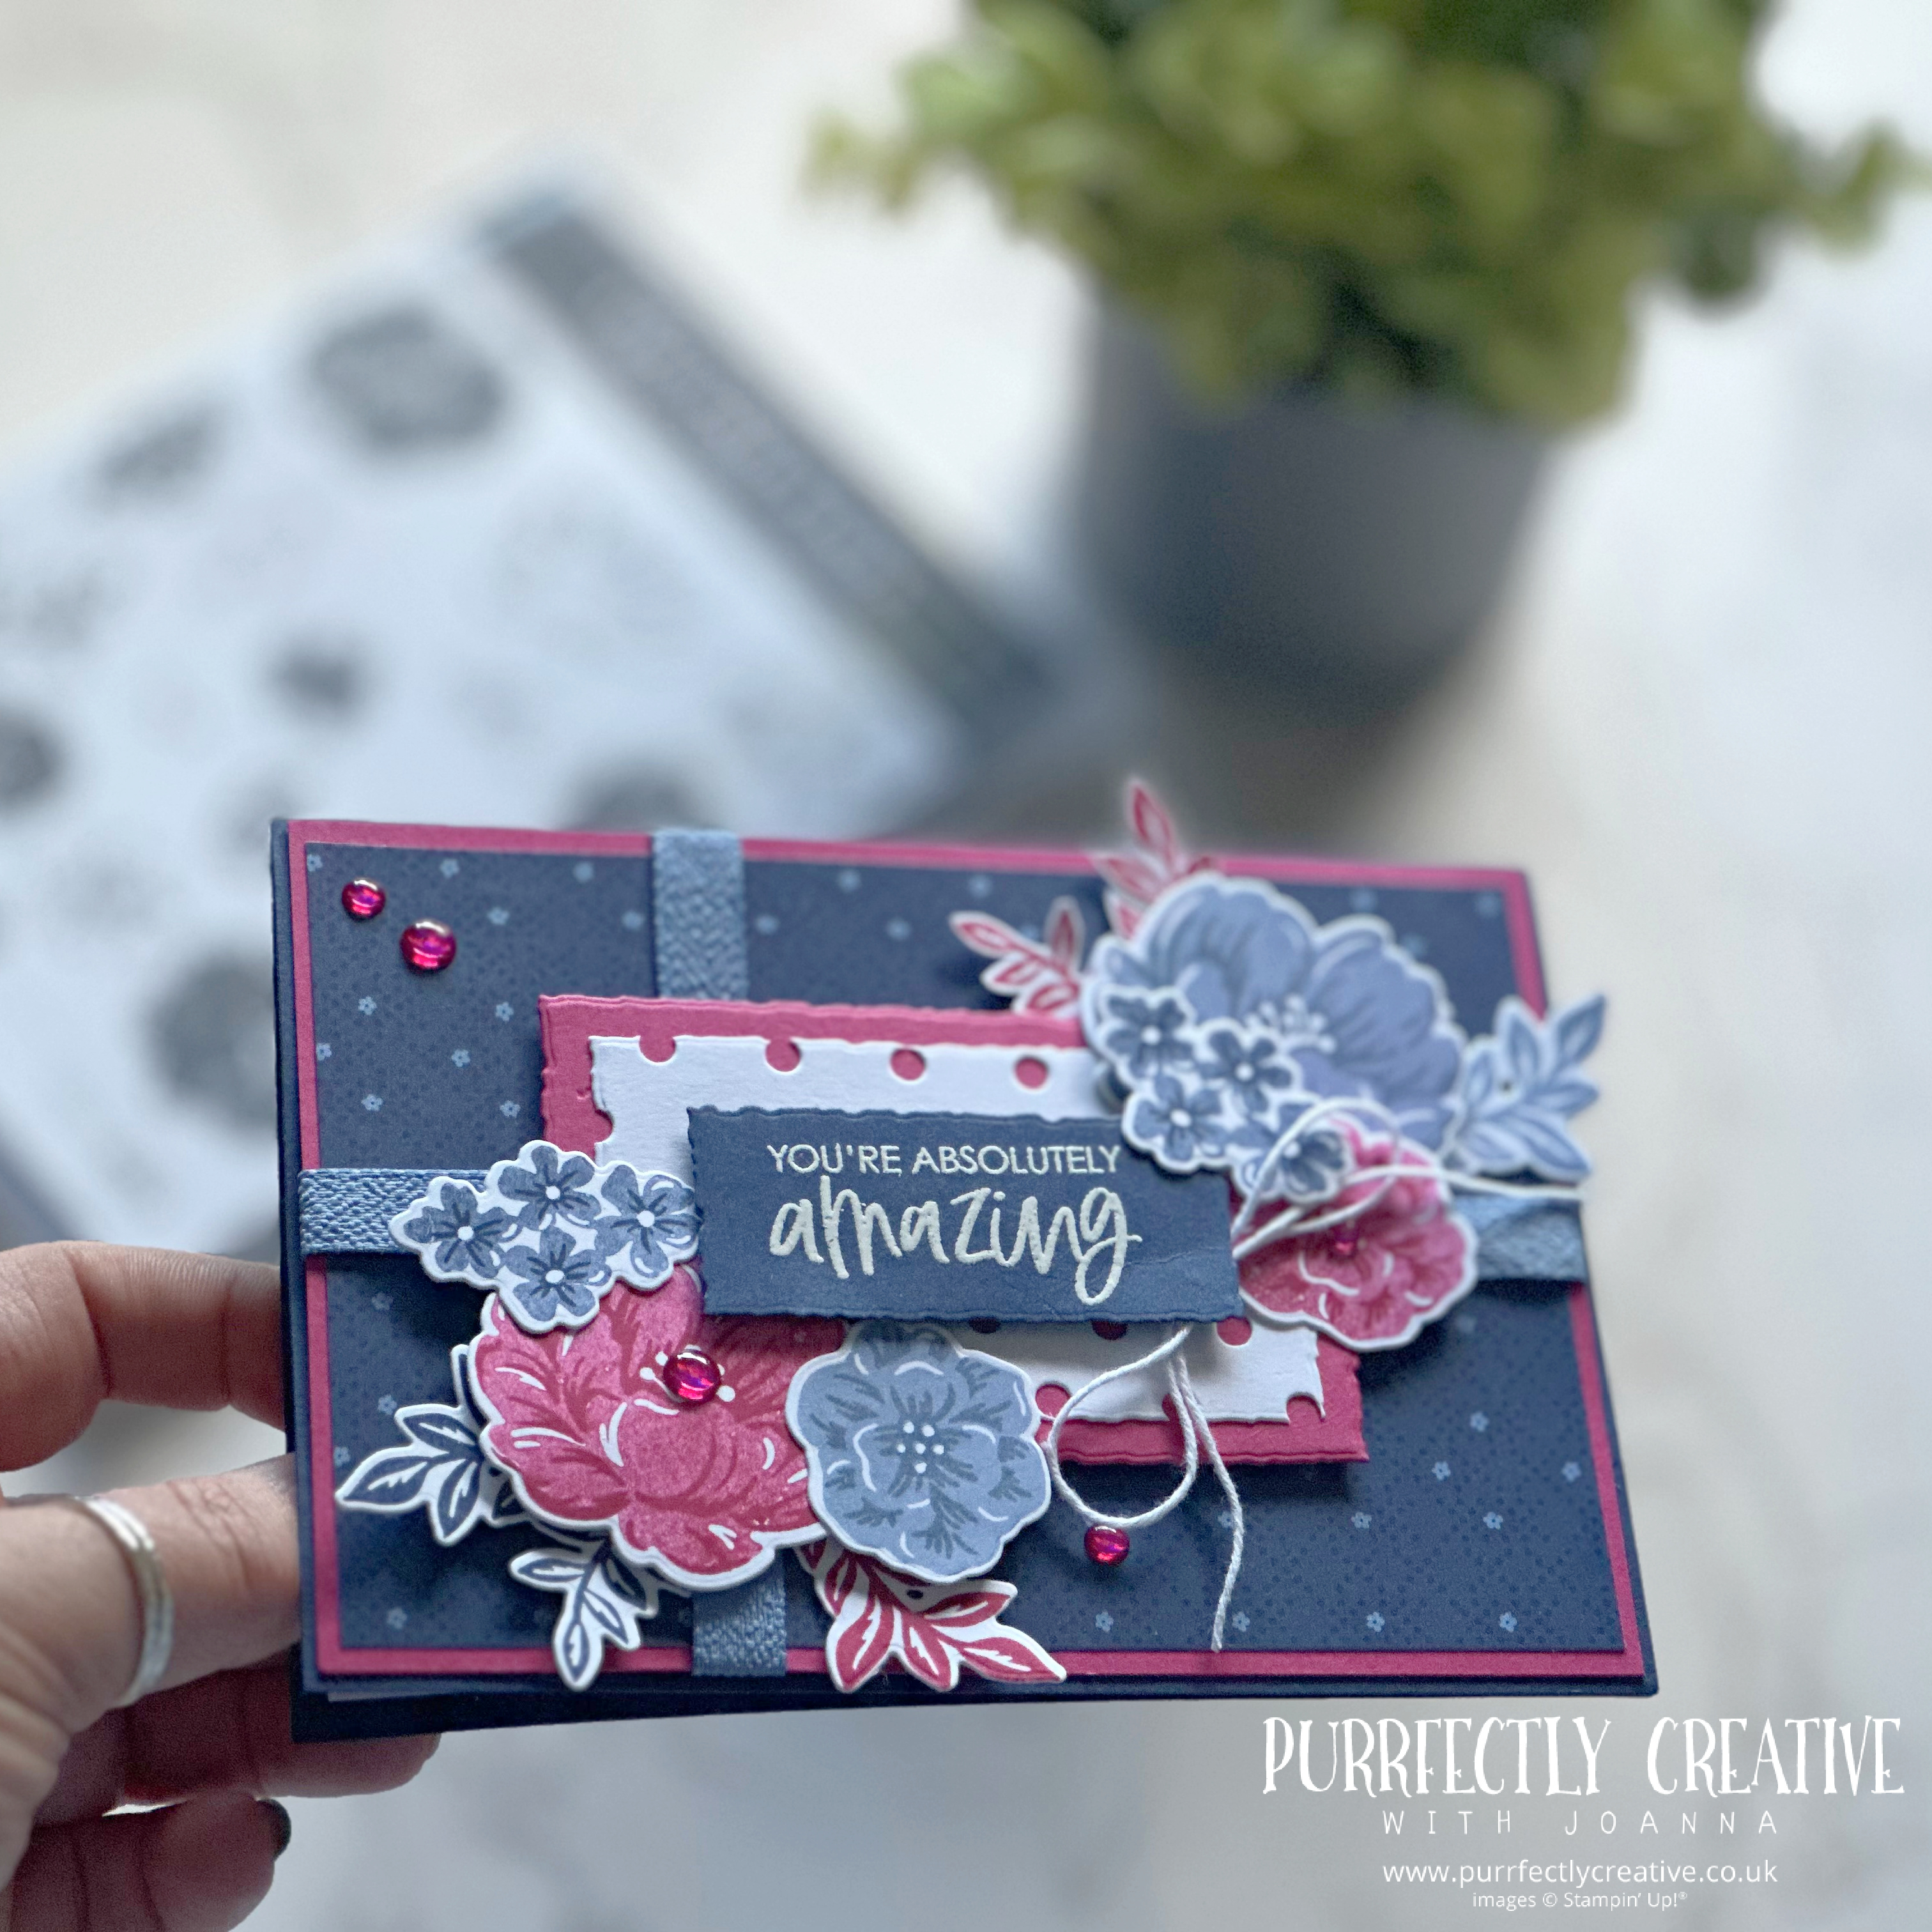
I think this is my favourite card just because of the pop of pink. Thanks for stopping by, I really hope you like what I've created. Head on over to see what Alison has been making at The Inkspirational Crafter.
Shopping with me
And if your order is going to be more than £99, why not consider joining my team? All you have to do is purchase a starter kit for £99, by choosing any items you want from the catalogue, to include in your and receive £130 worth of products.
Whether you want to get all the ink pads, add the cut 'n' emboss machine or take advantage of demonstrator only pre-orders from the new annual catalogue, the choice is yours! In the starter kit, you will receive a free business supplies pack but it's your choice if you want to be a hobby demonstrator and enjoy the 20% minimum discount off all future orders or if you want to start your own business. For more details click here to join my team.


