Showing posts with label heat embossing. Show all posts

Thursday, September 21, 2023

Suite Showcase no. 18 - All About Autumn

Hello and welcome back!


Today I'm sharing with you, the All About Autumn Suite from the all new September to December Mini Catalogue, and the weather outside is definitely autumnal!

The Designer Series Paper (DSP) in this suite is stunning! One side is printed and the reverse is copper foiled. The colours are beautiful as are the images. So, for my first card I wanted to show a quick card using the DSP.

Saturday, August 5, 2023

Ink.Stamp.Share Showcase Blog Hop - August 2023


Hello and welcome back!

Can you believe it’s August already? Holiday season is upon us. I hope you have something nice planned, wherever it may be and with whomever.

Today’s blog hop is ‘Showcase’, which means we can share whatever it is we’ve been working on. So I want to show you some of my latest makes. 

Wednesday, June 21, 2023

Suite Showcase 12 - Bright & Beautiful

Hello and welcome back!

Can you believe it’s nearly the end of June already and today is the longest day of the year?! This year is just flying by.

For today’s Suite Showcase, we’re using the Bright and Beautiful suite. I’ve made 3 cards for you today. Honestly, there’s so much that can be done with this whole suite, I could have kept going. And the great thing about this suite is that there is also Memories & More, card pack and envelopes available so they all coordinate. 

For my first card today, I used a standard size card base and then added a strip of designer series paper (DSP), a smaller strip of gold Be Dazzling specialty paper and a piece of Basic White cardstock that measures the full height of the card and 3 1/2 inches  wide. 


I then stamped each of the balloons in different colours - Lemon Lime Twist, Azure Afternoon and Berry Burst and added the string for each in Memento Black. I think it turned out cute and it’s really straight forward to make. I did put the stamped layer on dimensionals to give the card some interest. I stamped the sentiment in Berry Burst, on a scrap piece of Basic White and trimmed to size, bannering one end. To finish the card off, I used our new metallic enamel effects in gold.


For my second card, I decided to change things up and create a DL card. The card base is 8” x 8” scored in half on one side at 4”.  I stamped the largest balloon and tassels in Daffodil Delight, Lemon Lime Twist and Azure Afternoon. Then using the same colours, I stamped the streamers randomly in the background.  


I then die cut 3 balloons from our Vellum Basics DSP and Vellum cardstock. On the Vellum cardstock I heat embossed in copper, the happy birthday sentiment. And added a bow using the white basic twine. To finish, I used the copper metallic enamel effects randomly across the card.

Then finally, I decided to change things up again for my third card by creating a square card base in Lemon Lolly measuring 11 1/2” x 5 3/4”, scored in half on the long side at 5 3/4”. I used a matting layer measuring 5 1/2” square. To this I added the remainder of the DSP from the first card, cut to 5 1/4” by approximately 2” and adhered this to the white layer. I then chose another piece of DSP cut to 5 1/4” by 4 1/2” and added a slither of Berry Burst, top and bottom to this and adhered this on to the layer.

I die cut the stars from Lemon Lolly, Berry Burst and Pretty Peacock. The tag was die cut from Basic White and the sentiment was stamped in Pretty Peacock. To finish the card off, I added a bow using the Gold & Vanilla ribbon with some extra tails from White Basic Twine and Adhesive Backed Sequins Trio.


This is such a fun set, I hope you like my cards. Why not head over to see what Alison has been making at The Inkspirational Crafter.

If you would like to purchase any of the items I used today, please see the link at the bottom of this page.

SHOP WITH ME

Shop with me in June and use my host code to receive a free gift from me. Click here to shop using my host code, KUUP7JFD.

And if your order is going to be more than £99, why not consider purchasing a starter kit. In the month of June, when you purchase the completely customisable starter kit for £99, you will receive £154 worth of products! All completely yours to choose. For more information click here.

XXXXXX

Saturday, April 1, 2023

Stamp Around UK Video Hop - April 2023 - CASE a Demonstrator

Hi there!

Can you believe it's been a month already since our last video hop?! This month's theme is CASE a Demonstrator. CASE stands for copy and share everything or copy and selectively edit. I chose Emma Goddard - The Coastal Crafter and her card from her YouTube live on Sunday 26th March. Here's the link to her video: Water colouring flowers with Irresistible Blooms from Stampin' Up!

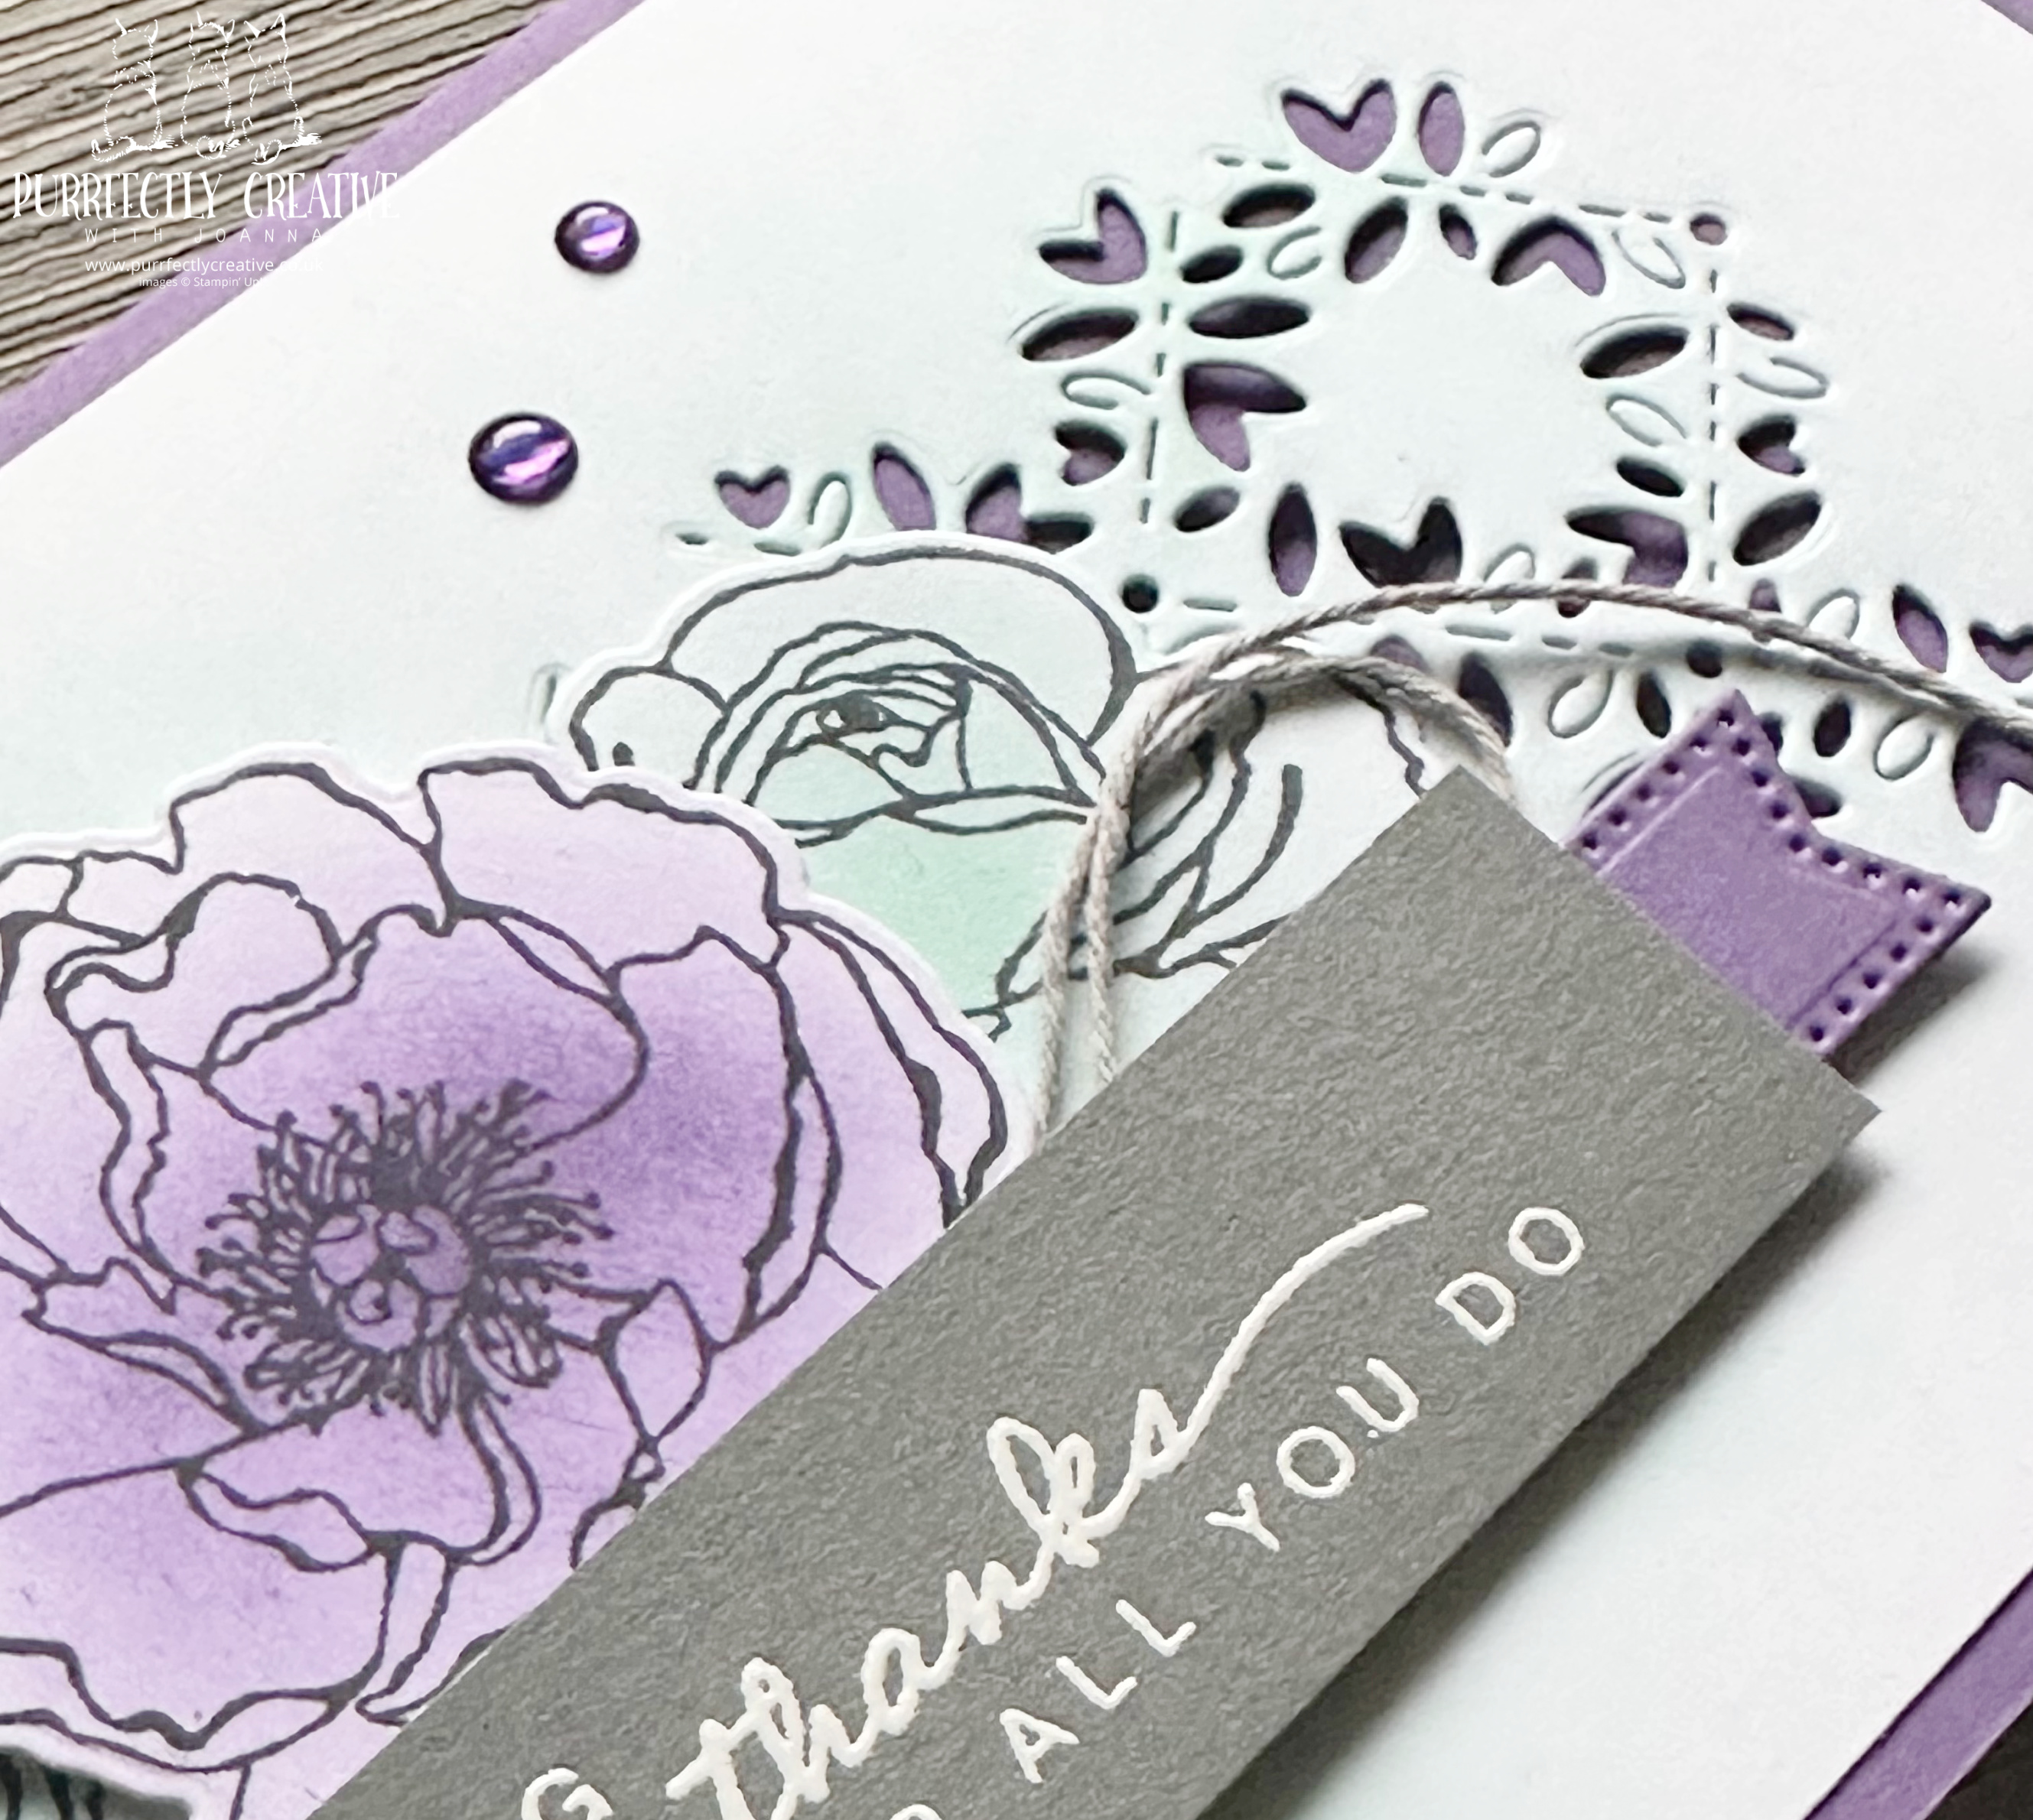
Emma did her card in rainbow colours but I thought that I would do an ombre effect for mine in purples. I also decided to use a coloured card base.


For this card I used Irresistible Blooms, which is available as an online exclusive, along with some other fabulous products.

I heat embossed the flowers with white heat embossing powder before using all the different purples we have in our ink range - Fresh Freesia, Highland Heather, Gorgeous Grape, Rich Razzleberry and Blackberry Bliss; to watercolour them.

You can watch the video here to see how I made it.


For the flourishes, I pulled in some dies from Eden's Garden and Fragrant Flowers and then added some White Glittered Organdy ribbon behind the sentiment.

After I finished the video, I decided to go back and add some Iridescent rhinestones.


I really enjoyed making this one and thank you Emma for your inspiration! Hope you like it. 

Please do check out the rest of the videos in the hop, there are some truly gorgeous projects.

Until next time....take care!

Shopping with me

Shop online with me and use my online shopping code - ZGFNVBVS at checkout to receive a free gift from me the following month.

And if your order is going to be more than £99, why not consider joining my team? All you have to do is purchase a starter kit for £99, by choosing any items you want from the catalogue, to include in your and receive £130 worth of products.

Whether you want to get all the ink pads, add the cut 'n' emboss machine or take advantage of demonstrator only pre-orders from the new annual catalogue, the choice is yours! In the starter kit, you will receive a free business supplies pack but it's your choice if you want to be a hobby demonstrator and enjoy the 20% minimum discount off all future orders or if you want to start your own business. For more details click on the join my team link on my blog.


Tuesday, March 21, 2023

Suite Showcase no. 6 - Ready to Ride

Hi there and welcome back! 
This week’s Suite Showcase focuses on Ready to Ride. I have to confess, I haven’t purchased the stamp and dies as I don’t feel that I would use them to their full advantage, however, I am going to show you what I’ve made using just the designer series paper (DSP). The DSP in this suite lends itself to both masculine and feminine cards. 


For my first card here, on a Pumpkin Pie card base, I used the gas/petrol station scene from one of the DSP sheets that has a number of images on that can be cut down to create toppers. I simply layered it on some Basic Black. I used one of the other DSP sheets for the card base layer. I pulled out the Biggest Wish stamp set for a more masculine sentiment and stamped on Very Vanilla. 


For the next card, I again used Pumpkin Pie for the card base, I mat and layered a piece of DSP that looks like metal on black. Then used 2 more of the ‘toppers’ from one of the DSP sheets – the rose and one of motorbikes. I pulled a sentiment from Simply Fabulous and stamped this on Soft Suede. 


For my next card, I used Soft Suede as my card base and cut a matting layer also in Soft Suede. I embossed this piece using the Metal Plate 3d embossing folder from the suite and then using some more of the topper elements from the DSP sheet, I layered 3 of them up; then I fussy cut a bike from another sheet of DSP and adhered this to the card on dimensionals. I thought this would make a nice Father’s Day card, so I pulled the sentiment from Celebrating You. I black heat embossed the sentiment on Soft Suede. 


Moving on to more feminine cards, I kept the same colour scheme as those in the DSP. I used a Basic Black card base with a layer of the checker board DSP. I embossed a piece of Pumpkin Pie using the Metal Plate 3d embossing folder but I blended some Pumpkin Pie around the edges to soften the colour a bit. I then cut a banner shape from the roses DSP. The sentiment came from the Favoured Flowers stamp set. This was white heat embossed on black. I finished all of the above cards off with some of the Adhesive Backed Studs. 


For my most feminine card using the DSP, I used the roses DSP and adhered this at an angle on my Basic Black card base. I then cut a Basic Black layer to the same size as the card base. To make the valley in the middle, I then marked on the Basic Black layer, where the roses DSP came to and marked it. Then I cut from the top left corner to each of the marks using my paper trimmer. I then adhered a strip of Polished Pink cardstock to both black pieces, to give a flash of colour and trimmed the edges before adding both pieces to the Pretty Flowers embossing folder. I added these to the card base on black dimensionals. To finish the card, I stamped 3 of the smaller flowers from Fragrant Flowers stamp set. I added a pop of Polished Pink using my blends and Granny Apple Green for the leaves. I fussy cut these out as I didn’t want a white border around the edges of the flowers. The sentiment I pulled from the Simply Fabulous stamp set, which was white heat embossed on black and I finished the whole card off with some Polished Pink ribbon and some Iridescent Pastel Gems.


Please head on over to Alison's blog at The Inkspirational Crafter, to check out what she's been making with the suite.

If you want to recreate any of these projects, the list of products I used are below. See you next time!

Shopping with me

Shop online with me and use my online shopping code - 4ECGHRBX at checkout to receive a free gift from me the following month.

And if your order is going to be more than £99, why not consider joining my team? All you have to do is purchase a starter kit for £99, by choosing any items you want from the catalogue, to include in your and receive £130 worth of products.

Whether you want to get all the ink pads, add the cut 'n' emboss machine or take advantage of demonstrator only pre-orders from the new annual catalogue, the choice is yours! In the starter kit, you will receive a free business supplies pack but it's your choice if you want to be a hobby demonstrator and enjoy the 20% minimum discount off all future orders or if you want to start your own business. For more details click on the join my team link on my blog.


Saturday, January 7, 2023

Hues of Happiness

Happy New Year!


I hope you all had a lovely festive season. As it's the start of the New Year, what better way to kick things off than with a brand new Suite Showcase blog in collaboration with my friend and fellow crafter, Alison from The Inkspirational Crafter.

Today we're showcasing the Hues of Happiness Suite. This is one of my absolute favourites.

My first card is a good example of what can be created if you're a beginner. It doesn't have to have lots of layers or details for you to create a beautiful card. With a standard A6 card base (10.5cm x 29.7cm scor4ed at 14.85cm) in Gorgeous Grape, I added a white layer and then cut down a smaller layer of Gorgeous Grape and some designer series paper (DSP) both of the same size and off set them. To add some embellishment, I cut some flowers from a sheet of the DSP and then finished it off by stamping the sentiment and adding some embellishments from the suite.


My second card, shows how you can step up a card using the background die in the set. Using Gorgeous Grape again, I created a DL card base - 8" x 8" scored on one side at 4". On a layer of Basic White, I used the background die and cut it twice on the layer.  Then using a blending brush, I added some Coastal Cabana ink to give it a bit colour.


I followed this up by stamping and die cutting two of the flowers from the set. Instead of colouring with blends pens, I decided to use blending brushes to add the colour. This gave them a soft colour. I then heat embossed the sentiment in white on Basic Gray cardstock to soften the look. Die cutting a banner die from the Stylish Shapes dies, in Gorgeous Grape, I cut it in half and added a piece either end of the sentiment to make it look like a banner. I finished the card with a bow using the gray twine (who doesn't have twine lying around?!) from the Bakers Twine essentials pack, and embellishments from the suite.

For my final card, I created a basic card base of A6 (as I did for my first card) in Melon Mambo. Again, I added a Basic White layer. If you want to step up this card further, you could emboss this layer before adding it to the card base. Then using the strip dies from the suite, I cut on from DSP and 1 from Basic White. On the Basic white piece, I used a mask from the Artistic mix set and blended in Daffodil Delight in the background. Although, you can't see it much because I then decided to to cover the layers in flowers! Haha! I distressed the edges slightly and because I offset the layers, I curled up opposite corners on each layer.
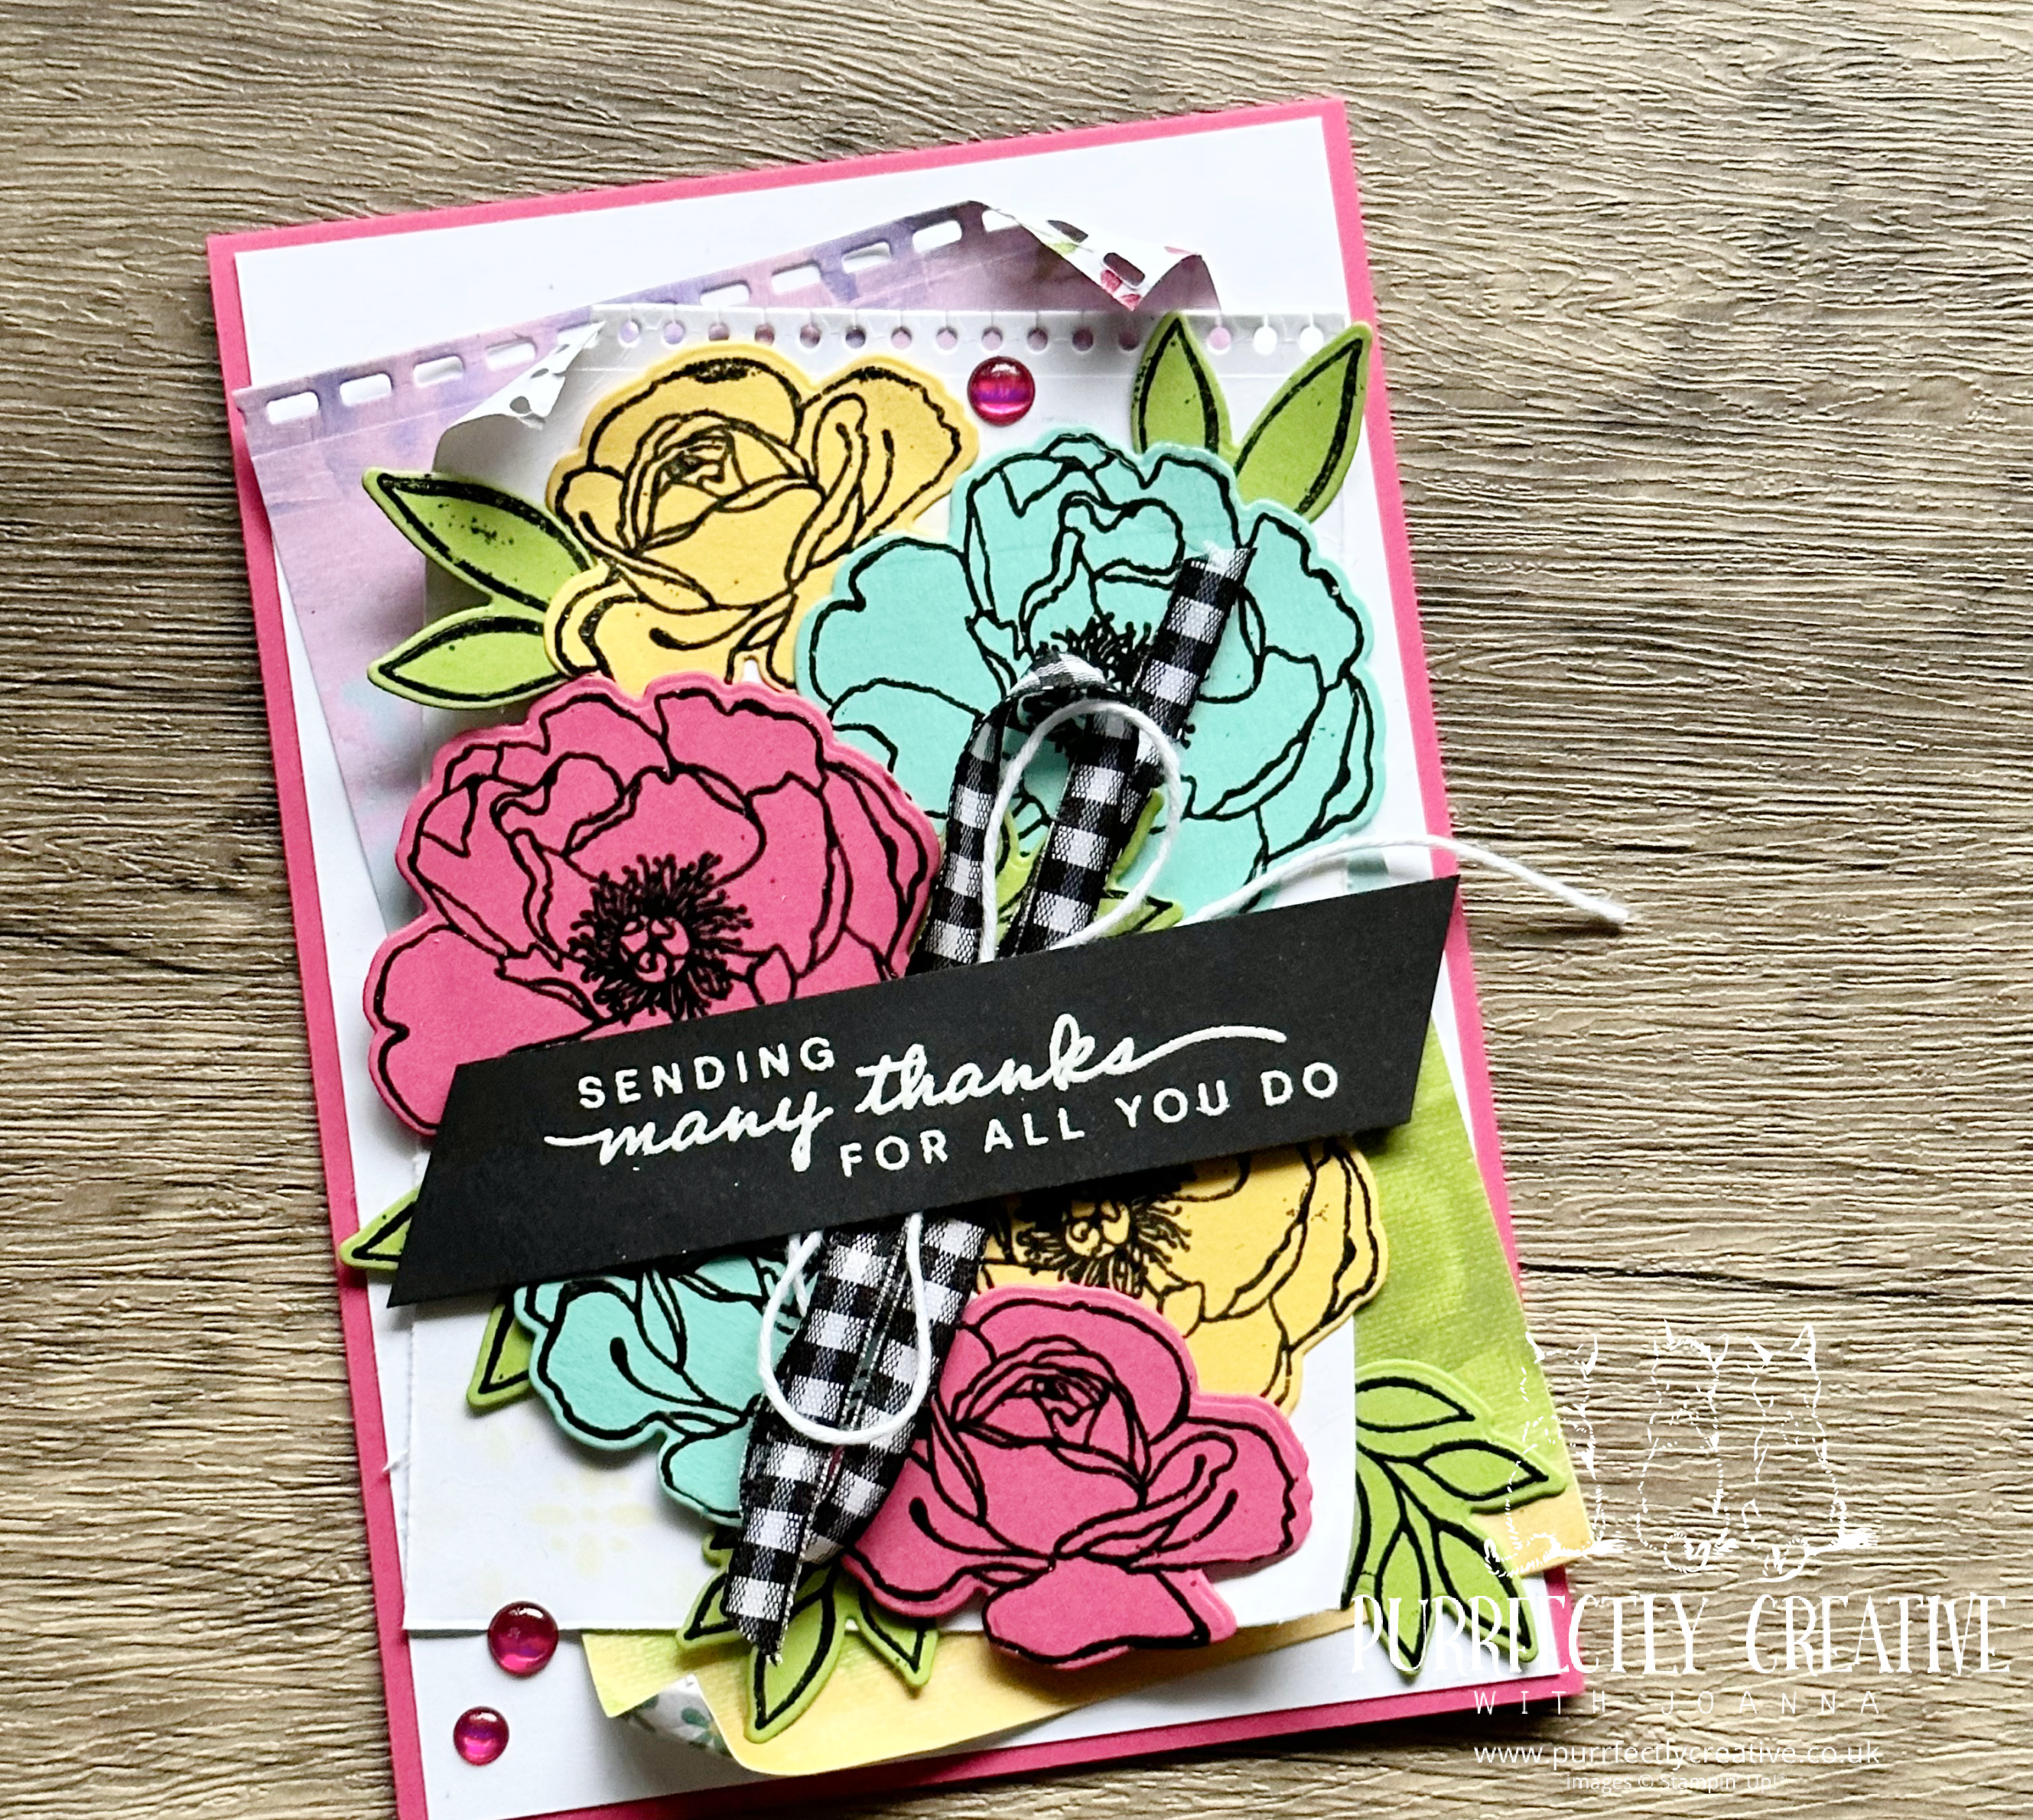

I then went mad with the heat embossing of flowers in black on Melon Mambo, Daffodil Delight and Coastal Cabana cardstock scraps. I also black heat embossed a range of leaves on Granny Apple Green. Then I die cut them all out. I originally didn't have the intention of using all of them on one card, but once I started layering them, I couldn't stop lol. I glued some of them down and then layered others on dimensionals to give depth. Finishing up the card, I white heat embossed a sentiment on a piece Basic Black cardstock scrap and layered this with not one but two ribbons - the black and white gingham and white twine again, from the essentials pack. And of course I added some of the glossy dots embellishments in pink from the suite, because, well it would be rude not to!


I hope you like my cards, the suite really is so versatile. Head over to Alison's blog here at: The Inkspirational Crafter, to see the amazing makes she's created with this suite.

Shop online with me and use my online shopping code at checkout to receive a free gift from me the following month.


As it's Sale-A-Bration time, if you purchase a starter kit for £99, by choosing any items you want from the catalogue, clearance rack, new releases, you will be able to choose and receive up to £170 worth of products. Or if you would prefer, you could purchase the starter kit for £125, still receive £170 worth of products but you will also have the choice of one of our mini cut & emboss machines - either in the white or you could opt for the limited edition Boho Blue machine. This offer only runs until the end of Sale-a-Bration on 28th February 2023. So don't miss out! For more details, click here.


Whether you want to get all the ink pads, add the large cut 'n' emboss machine or take advantage of demonstrator only pre-orders from the new annual catalogue, the choice is yours! In the starter kit, you will receive a free business supplies pack but it's your choice if you want to be a hobby demonstrator and enjoy the 20% minimum discount off all future orders or if you want to start your own business.


If you want to create your own or recreate my cards, here are the supplies I used:


Popular Posts